
When the weather gets cold and temperatures dip below freezing you have to take steps to protect your RV. Ensuring that you properly winterize my RV is essential to protecting it from damage over the winter months.
Here are the steps that we take to not only protect our RV from the cold weather but also from the different things that can happen while your RV is in storage.
Please note that all RVs are different. This is the process we use for our RV. Yours may have different features and require different techniques than described in this video. If you have any questions about your situation please leave a comment below.
Before you begin.
Please take every step to ensure your safety.
Tools you may need.
Okay, let’s get started on how to properly winterize my RV.
Wastewater tanks can get very nasty if they are left full during the winter. Not only can they produce and grow a lot of ugly bacteria, they can also freeze and expand putting pressure on your tank, and potentially damaging it. Once you have drained your black and grey water tanks, a recommended further step is to flush your black water tank out and treat it with a black tank cleaner.
Don’t forget about your fresh water tank. Leaving the fresh water tank full over the winter would have catastrophic consequences. Locate the low point drain for your fresh water tank and completely empty it.
Our rule is that we open it up when we begin this process. Then once we are done we will go back and close it. On the off chance that a bug wants to make it home over the winter, we would rather keep them from setting up with our fresh water.
If your freshwater tank is drained, there is no reason to put antifreeze in this tank. It is also a pain in the butt to flush out if you ever do, so we choose to not put anything in our fresh water tank for the winter.
Your plumbing system should have a low-point drain. If it does not then you will want to use the compressed air version of winterizing. Open up all the faucets in your RV and then open up the low point drains underneath to allow the water to drain out of your system.
As the system is draining you can locate your water heater. On the side of the water heater is a plastic plug.
IMPORTANT: Ensure that your water heater has been turned off and has had enough time to cool down. Draining a heated tank can be dangerous and could result in burns.
Important stuff acknowledged, remove the plastic plug to drain your hot water tank. I don’t put the plug back in, but keep it in a safe spot until spring so that the tank can continue to dry over the winter and there is zero chance of water expansion.
Now that we have the water drained we will want to close all of our faucets and the low point drains, including your freshwater, once they are done draining. This is an important step, otherwise, you will pump your antifreeze out onto the ground.
Your hot water tank should have an inlet and an outlet. On these lines, there should be a valve to prevent the antifreeze from entering the hot water tank. There will also be another line that will bypass the hot water tank and on this line, there will also be a valve.
By opening the bypass valve and closing both of the lines into the hot water tank we will ensure the winterizing process will bypass the hot water tank.
Under our kitchen drawers (your location may be different) are a siphon hose and valves. We will shut the first valve so that the pump will not draw from the freshwater tank. We will open the second valve so that the pump will draw from the siphon hose. If your RV is not equipped with a siphon hose you will have to install one.
I choose to use a 10L jug of antifreeze as then I can winterize the entire RV with one jug and I don’t have to switch. Open the jug and place the siphon hose in the jug all the way to the bottom.
You should have closed all your faucets and low-point drains. If you missed that step, this is your reminder.
Turn on your pump so that the lines will be pressurized from the winterization antifreeze.
I choose to open the kitchen faucet first as this is the longest run in our camper and will get the antifreeze throughout the RV the quickest.
Turn on the cold water in your kitchen faucet. After the antifreeze is coming out of the tap, switch to the hot water line and wait for that line to turn pink.
Once the kitchen is done work through the rest of the RV winterizing the lines in sequence. Only open one line at a time to ensure good use of your RV antifreeze.
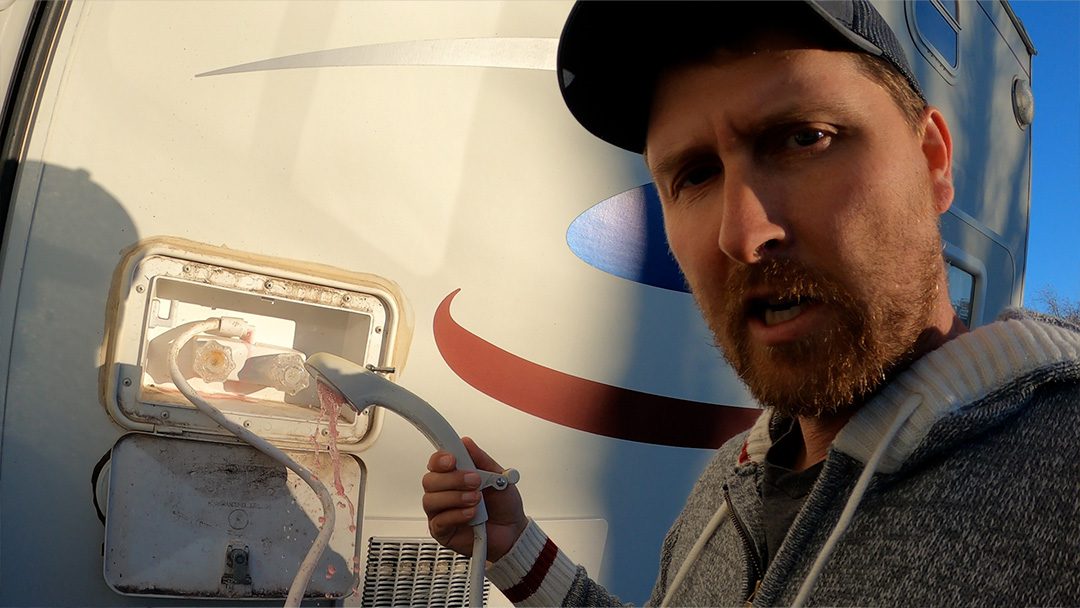
Make sure you don’t forget about other items in your RV, such as outside showers, ice makers, and other such lines depending on the setup of your RV.
Mouse Proof your RV
When your RV is sitting there is a greater chance for mice and rodents to make their way into the RV. Watch our video on how to mouse-proof your RV to ensure you are protected over the winter months.
Clean pantries and cupboards to remove leftover food
This is further along the lines of mice, but leftover food will also attract insects so we want to ensure we are not inviting everyone in for the winter when we are not living in the RV.
Wipe down your fridge and leave open
One of the worst things is forgetting your RV fridge. If you leave residue in the fridge and forget it closed it will quickly fill with mold. This is the worst thing to deal with in the spring. Make sure your fridge/freezer is wiped down and propped open to ensure airflow during the winter.
Vacuum, especially in corners
RV Life is crazy and we drop bits of food everywhere. A quick vacuum will get rid of those last bits of treats, giving unwanted guests no reason to hang out.
Hide all paper products
We choose to hide all our paper products. This is more of a preventative measure. If a mouse did get in they would love to play with all that toilet paper. Since it is not the cheapest, we want to hide it away on a top shelf so they cannot tear it apart.
Disconnect batteries and/or remove them
There is no reason to have your batteries connected when in storage. We use a quick disconnect on our batteries that allows us to quickly disconnect the battery in the off-season. If we ever do need power in the winter we can quickly reconnect.
Double check tire pressure
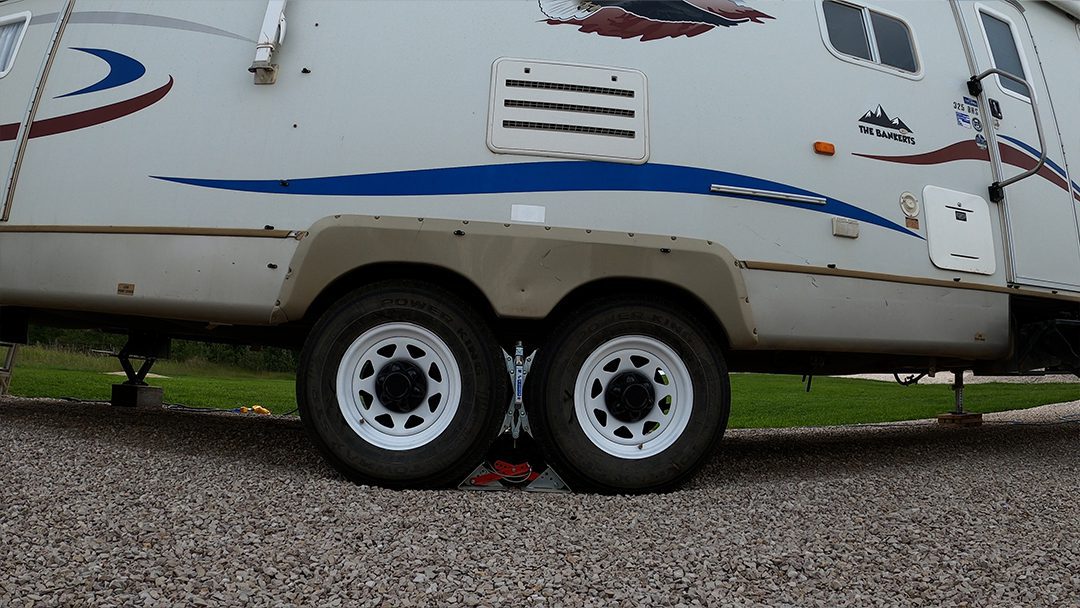
By ensuring your tire pressure is correct you will ensure that the tires are not getting beat up over the winter. A low tire in the fall will go even lower as the temperatures plummet. This will cause your rig, especially if it is larger, to sit weird on the tire for the next 5 months. You may not notice the damage until the next year as your driving down the road.
These are the steps and items that we consider when we properly winterize my RV each year. Your steps might be different due to the type of RV that you have.
Have a question or idea that you would add to our list? Make sure to leave a comment below, we would love to hear from you.


Over the years we have done a lot of stupid things. Mistakes happen. However, sometimes there are mistakes that happen that you cannot be prepared

RV decals can be annoying. Sometimes you want a clean slate and other times you simply want to remove all that annoying dealer stickers. In

When the weather gets cold and temperatures dip below freezing you have to take steps to protect your RV. Ensuring that you properly winterize my

Today, we’re doing something weird and strange. We’re sick of the way that our rims look, they look rusty. And I’m sure you could do