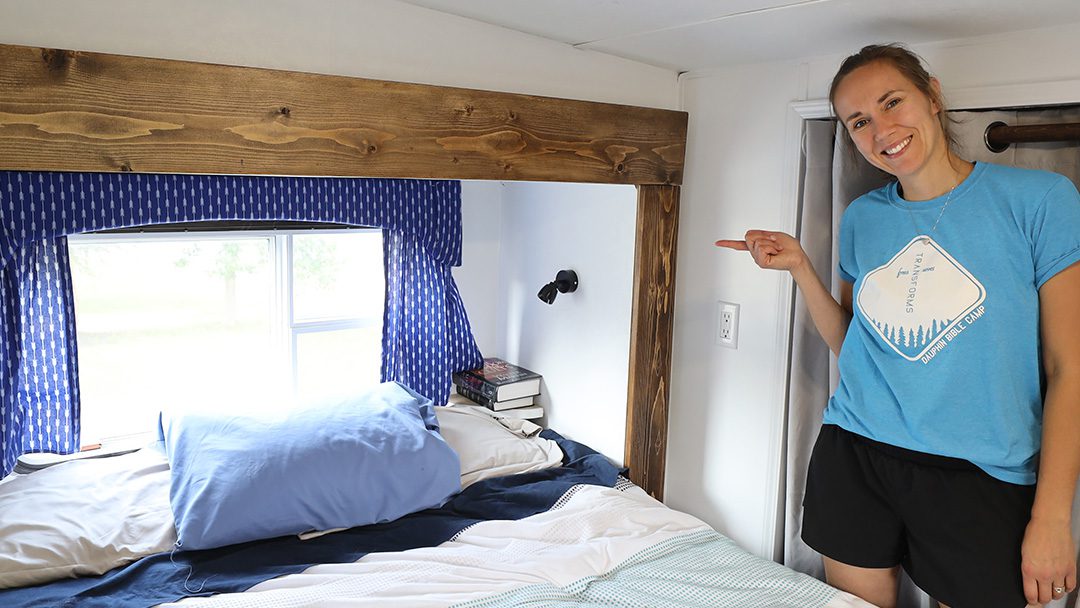
Are you ready to renovate your RV? Like a home, it can turn into a big project, but the rewards are well worth it. We are so excited to have our renovation completed. It is so much brighter than it used to be and gives us a sense of being in our own space, instead of being in another camper. We were able to put our own touch on things.
There are so many things to learn when you are renovating a camper for the first time. Here are some things that we have learned and some tricks that will make your renovation so much easier.
Take some time to learn about your RV before you start. Learn what it is made of. Does it have aluminum studs on the wall? What are the walls made of? How thick are they? What kind of flooring do you have? What is everything made of that you want to remove?
With these details in place, you will be able to make quicker, smarter decisions, with fewer regrets.
Our renovation started because there was a rotten section in the back that needed to be replaced. This meant a bunk had to come out. From there we began to pick at trim, windows, and flooring until our couple of things turned into a full-blown reno.
I would not recommend doing that. Even creating a napkin drawing of what you want to do will allow you to have a budget, and timeline and to keep on task with your goals. Or you can wing it, lol. We did.
It is so easy to go out and buy the same paint you would use in your house and not even think about it. However, there is a better way.
We have found that this is the best paint combination for our walls and cabinets.
First, clean and sand the walls. The purpose of the sanding is to scratch any gloss finish that might be on the wall so your primer can really grab hold of the wall.
Second, paint with 123 Bullseye primer. This primer is great and creates a nice base coat for the top coats to stick to. It also dries quite quickly allowing you more time to get back at it.
Third, apply your top coat. For this, we ended up using cabinet paint for everything. Cabinet paint is more durable and scratch resistant. Exactly what we need in our tiny home.
One of the biggest changes was our lighting. Upgrading everything to LED lights was great for power saving, but it also had the side effect of being much brighter.
Our old lights used standard RV bulbs and would fall apart sometimes on bumpy trips. The new lights remain in place and don’t have extra parts to fall off.
Now when we turn on the lights we have ample brightness. For the couple fixtures that we did not change we installed LED bulbs which have many of the same benefits, with the added benefit of not having to change out the fixture.
I think this was the biggest hurdle that we faced. Whenever we would look at things in our camper that we wanted to change we would always have the conversation. “What if we sell it someday?” “We should keep that in case we sell it someday!”
Finally, we came to the realization that this is our camper. We own it. We can make it into whatever WE want and need it to be. If it ever does come to a place where we want to sell it will be the perfect fit for another family.
It was after this moment that we began to make the rv our own.
First, we removed the fourth bunk in the back. We only needed three beds in the back and the fourth could then be used for extra storage and gave the kids more floor space in the back.
Second, we removed our dining benches. Removing the bench seats and installing an L bench allowed us to have a lot more room and more storage space.
Third, we replaced the flooring. The real reason all the flooring was replaced, (Which took a full week, mostly in prep work) was because of the carpet in the slide. It was disgusting. So we pulled it up and started on the rest of the floor. In the end, we installed a floating vinyl planking. This flooring works well, but it needs room to breathe or it will come apart at the seams.
Forth, we removed our shower doors and sliding closet mirrors. There were minor things that bugged us about each of these elements. I know, there are some very good things about them, but really the annoying parts caused us to rip them out.
The shower door was starting to fall apart. It also seemed like an afterthought and never really fit right. So when you slid the door shut it would drop down a little. Then you had to pick it up to slide it over and the kids, especially when they were younger, could not operate the shower door. It also had all these grooves in the tracks that were impossible to keep clean.
We were also very surprised when we ripped it out and how heavy it actually was. I bet that door was at least fifty pounds. The new curtain is mounted about a foot higher so we don’t bang our heads on it and anyone can operate them.
The bedroom mirror had clips on the side that would break from time to time. It also had the issue that everything had to fit into the closet. If you can a shirt in the way you could not close the door. Now with our new curtains, there is a lot more room around the bed and you can access the entire closet at once.
The fifth change that we will mention is the curtains. The valences were very outdated, so we ripped all those off and replaced them with curtains. The only place we kept them was in the bedroom because they keep the room so much darker. We did recover them though so that they are new and bright. No more dark teal green lol.
Renovations are very exciting and I can keep going and talk about replacing the slide covers with stained boards, the backsplash with sticky tiles, the stainless steel behind the stove, and the many other upgrades that have made this space our own.
We hope that you are inspired to start your own renovation project and we would love to hear about it. Let us know below the project that you are working on, or what you would love to work on. I am sure it is going to be awesome.
Make sure to upload a story on social media of your reno and tag us in it (@ourcrazyrv), we want to see your creativity.


Over the years we have done a lot of stupid things. Mistakes happen. However, sometimes there are mistakes that happen that you cannot be prepared

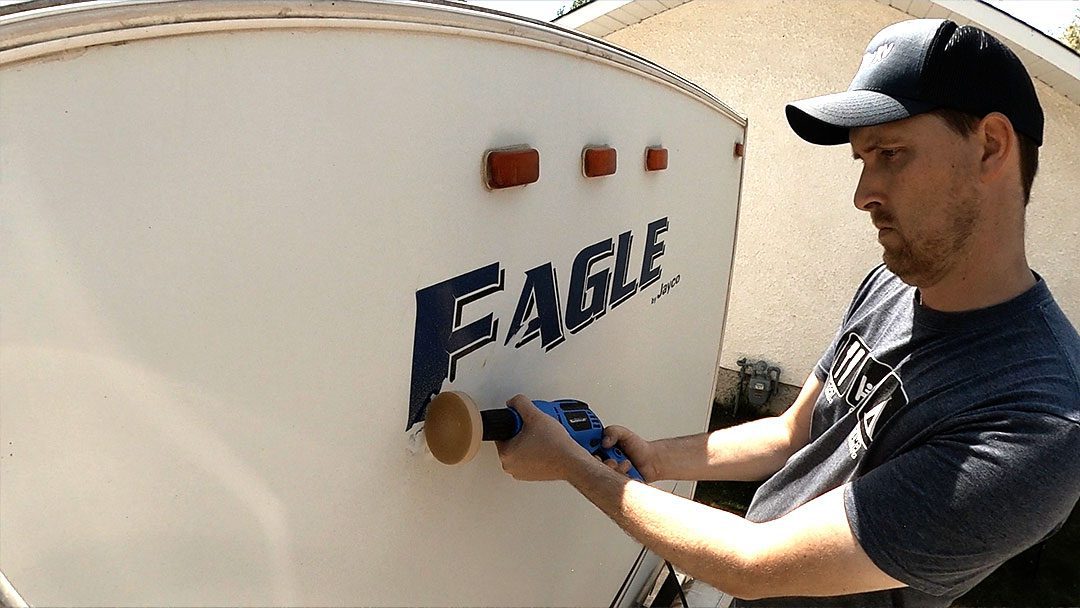
RV decals can be annoying. Sometimes you want a clean slate and other times you simply want to remove all that annoying dealer stickers. In

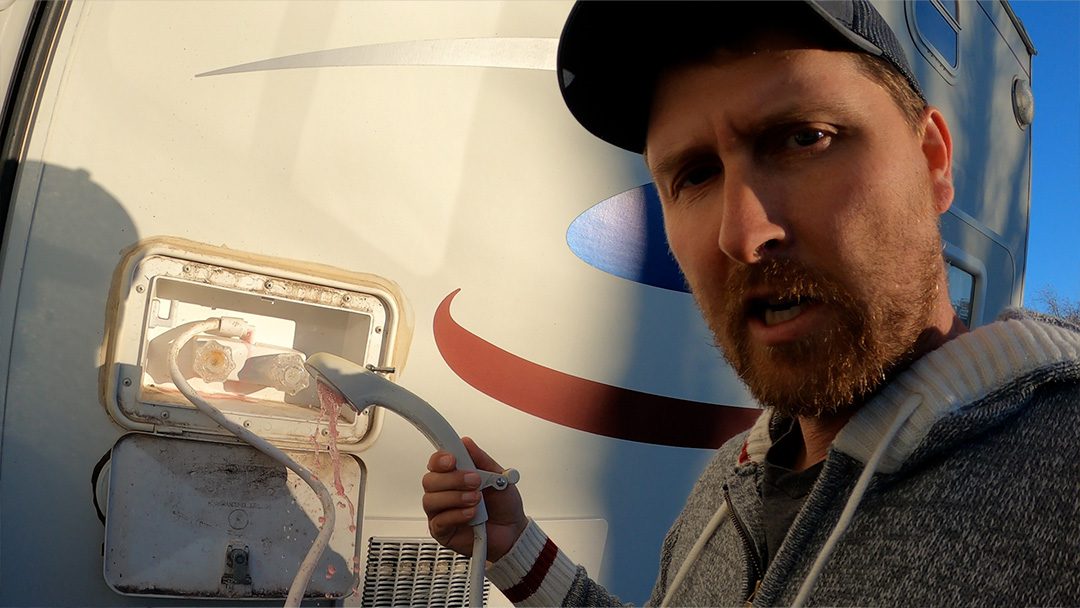
When the weather gets cold and temperatures dip below freezing you have to take steps to protect your RV. Ensuring that you properly winterize my

Today, we’re doing something weird and strange. We’re sick of the way that our rims look, they look rusty. And I’m sure you could do